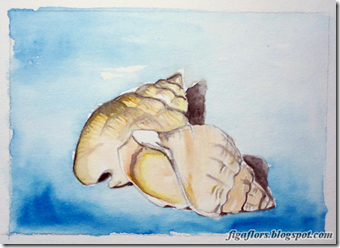
24x17cm watercolor on paper
28/3/12
25/3/12
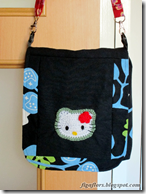
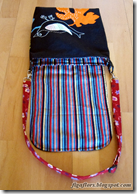
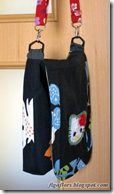
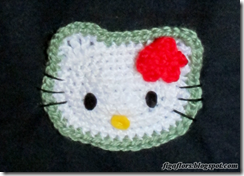
The Hello Kitty Messenger Bag
Our (two and a half year old) niece is fallen for the Cult of the Cat, or better known as Hello Kitty. Looking for some crochet project to do, I found a pattern for a Hello Kitty head. After crocheting the cat head, I decided to construct a small messenger bag for The Niece, so she can lug stuff around.
The Kitty crochet appliqué was made following the tutorial at Made by K.
21/3/12
Watercolor Wednesday: The otters of Salt
14/3/12
7/3/12
5/3/12
The Recycled Mini-Notebook (Matchbook Style)
Here I present you how to make a recycled mini-notebook:
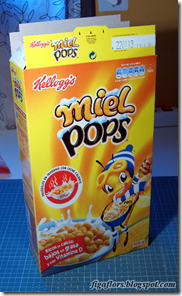
- Cut a strip of cardboard of 14.5x5.5cm. Cereal boxes work great!
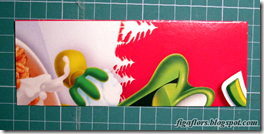
- Score the cardbord 4 times. Distances 1.5cm, 1.75cm, 8cm and 8.5cm measured from one edge. Optional: Put sellotape over the scores. This prevents the cardboard from ripping on the folds.
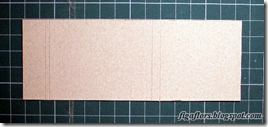
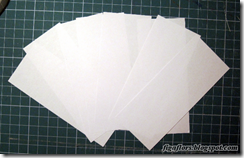
- Fold the paper down the middle and make a stack.
- 1cm from the fold make an incision with a cutter. This will help to rip out pages easier. If you do not want to rip out the pages, you can just skip this step.
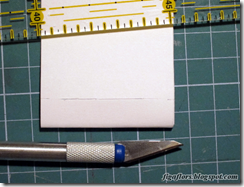
- Cut a cover page 6x5cm. You will need this if you have followed step 5, because the front flap will hang up on the cuts, when you close the notebook.
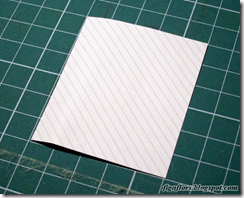
- Stack the cover page on the blank pages and put the pages in the cardboard cover. Staple the pages to the cardboard (staple through cardboard latch, pages and cardboard back).
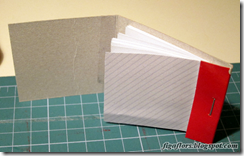
- Slip the front under the latch and you finished your matchbook style notebook.
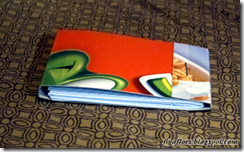
1/3/12
A fast treat: The microwave brownie
Every now and then it is nice to treat yourself to a nice snack. What is better than a warm fudgy brownie for that?
There are many recipes for microwave brownies out there in the wild wild web. I just would like to document here the mix that worked well for me.
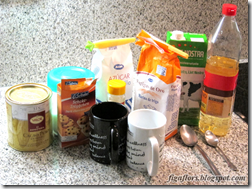
Ok, lets gather the ingredients. You’ll need:
- 4 Tablespoons all purpose flour
- 4 Tablespoons sugar
- 2 Tablespoons unsweetened cocoa
- 4Tablespoons milk
- 3 Tablespoons vegetable oil (such as sunflower)
- 1-2 Tablespoons chocolate chips
- a pinch of salt
- 1/4 teaspoon vanilla sugar
Everything ready? Lets start!
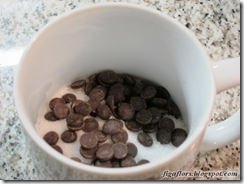
1. Give flour, sugar, vanilla sugar, cocoa, salts and chocolate chips into a mug.
2. Add the oil and milk.
3. Mix thoroughly.
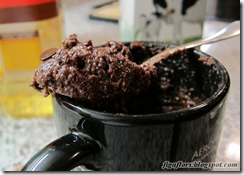
4. Microwave the mix. About 60-90 seconds in a 900W microwave oven will work fine.
5. Let the brownie cool down a bit and enjoy it still warm!

