20/10/13
18/10/13
Meet the robot
The micro servos are modified to turn 360 degrees following the tutorial on Letsmakerobots.
For the ones interested, the Arduino sketch for my robot is this one: (Parts of the distance sensor code comes from http://arduinobasics.blogspot.com.es/2012/11/arduinobasics-hc-sr04-ultrasonic-sensor.html)
/*
HC-SR04 Ping distance sensor:
VCC to Arduino 5v
GND to Arduino GND
Echo to Arduino pin 7
Trig to Arduino pin 8
*/
#include
Servo myservoR; // create right servo object
Servo myservoL; // create left servo object
int posR = 90; // variable to store the servo position
int posL = 90;
#define echoPin 7 // Echo Pin
#define trigPin 8 // Trigger Pin
int maximumRange = 200; // Maximum distance range
int minimumRange = 0; // Minimum distance range
long duration, distance; // Duration used to calculate distance
void setup() {
pinMode(trigPin, OUTPUT);
pinMode(echoPin, INPUT);
myservoR.attach(5); //attach right servo signal to pin 5
myservoL.attach(4); //attach left servo signal to pin 4
}
void loop() {
digitalWrite(trigPin, LOW); // trigger impulse
delayMicroseconds(2);
digitalWrite(trigPin, HIGH);
delayMicroseconds(10);
digitalWrite(trigPin, LOW);
duration = pulseIn(echoPin, HIGH); // listen to the echo
distance = duration/58.2; //Calculate the distance (in cm) based on the speed of sound.
if (distance >= 20){
/* Drive forward */
myservoR.write(80);
myservoL.write(105);
delay(50);
}
if (distance < 10 && distance > 5 ){
/* Turn around */
myservoR.write(110);
myservoL.write(110);
delay(250);
}
if (distance <= 5){
/* Back up */
myservoR.write(150);
myservoL.write(40);
delay(50);
}
//Delay 50ms before next reading.
delay(50);
}
2/10/13
My Nacho Recipe
- 1-2 bags of tortilla chips
- 4 Tsp creme fraiche (or sour cream)
- 1 avocado
- 1 tomato
- 1 small onion
- 1/2 tin of black olives
- 3-4 pickled chilies
- 100 g grated cheese
- iceberg salad
Finely slice a bit of iceberg salad and spread it over the chips.
Now, slice up the tomato, black olives, chilies and onion. Spread the mix over the avocado and you are done. Eat the nachos by using the tortilla chips as edible spoons.
30/9/13
My Fig Marmalade Recipe
You'll need:
- 8-10 jars with tight closing lid
- 2 kg figs
- 1.5kg sugar
- 700ml water
- 1 teaspoon cinammon
- 4 Tablespoons lemon juice
After 15 minutes of boiling add the sugar.
Tighten the lids and turn the jars upside down. This heats the "neck" portion of the jar, killing bacterias that might be there.
26/9/13
22/9/13
Winter is coming: Make a hat!
18/9/13
Back to the drawing board
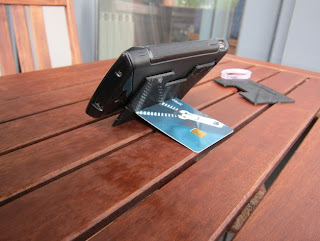
A super simple wallet - 3D printed
The printed rectangles have a cutout on on side, which enables you to push out the content easily.
26/7/13
My Ukulele 3D Printer story is featured in the Make Pro Newsletter!
The files are also available on Thingiverse (http://www.thingiverse.com/thing:122004).
The final version of the bridge in black looks like this:
27/6/13
My 3D printer… ROCKS!
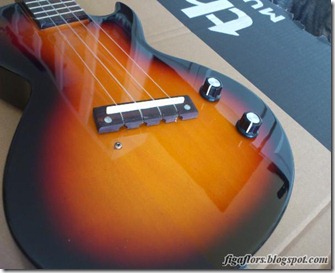
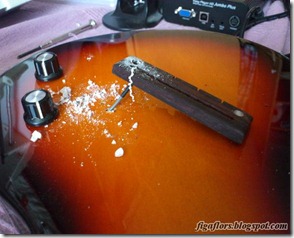
A few days ago the bridge of my electric ukulele broke. It was torn from the fixing screw because of the bad quality of the bridge (that’s what you get for buying cheap).
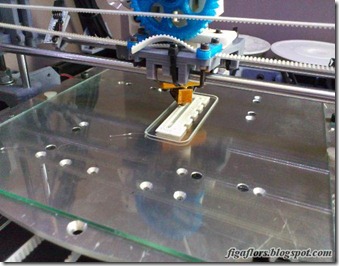
I faced the decision to either send the ukulele in to get a total replacement or to try to get a replacement part. Knowing that the replacement will have the same quality issues, I went in a different direction. A few measurements later I started up my BCN3D printer and printed out a replacement for the bridge.
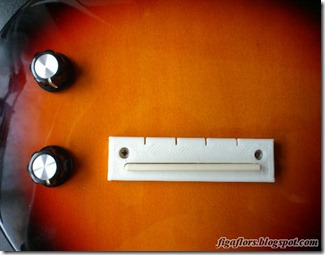
This is my homemade replacement part (in white, because I had white in the printer),
Now it is only a matter of drilling out the second screw…
…take off the original part (the cable under the bridge belongs to the pickup which fits in the bridge)…
…and install the new part.
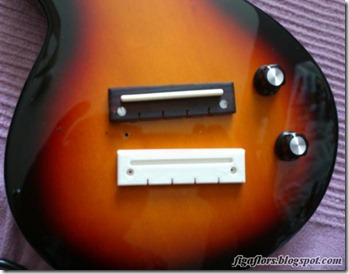
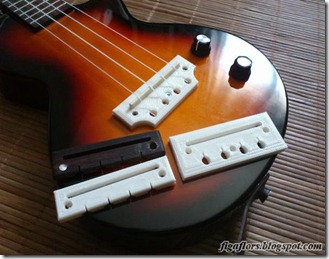
Because the part has to withstand some serious tension from the cords, I made a beefier version with 3 fixation screws instead of 2. Here is a picture with the original part and the three design iterations I did.
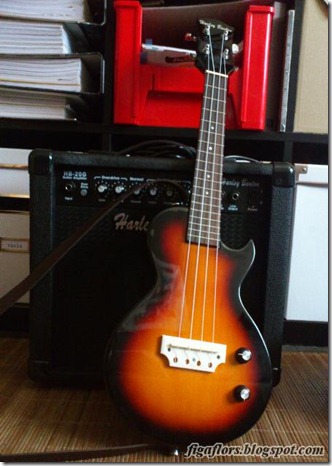
I am pretty happy with the result. The last step will be to print the new part in black to make it fit more the original color scheme.
24/5/13
Life with a 3D printer
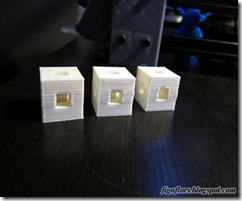
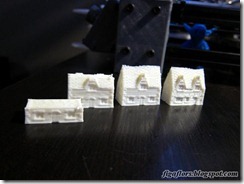
Having a 3D printer is awesome. But what do you actually print with it? Foremost a lot of calibration pieces trying to find the best parameters for the printer and used material.
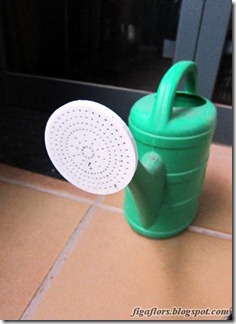
When the machine is calibrated and running nicely it is time to repair stuff around the house. For example making a new rose for a watering can (the original one was got lost thanks to the cat).
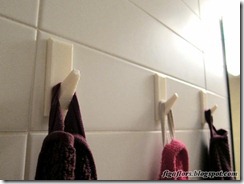
Also, one can print out some hooks for bath towels.
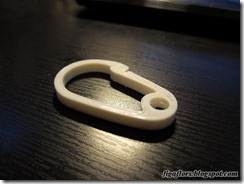
Basically you can orint all kind of plastic parts. For example a carabiner hook…
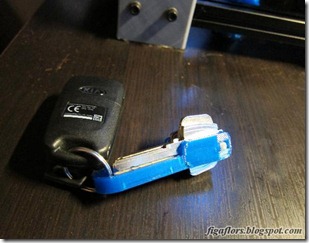
…a key organizer…
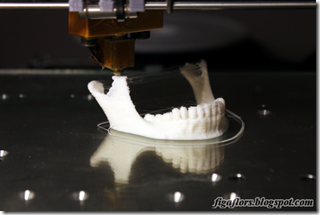
… or even a mandible.
30/3/13
The making of a hobbyhorse
Last Christmas I made a hobbyhorse for my niece, but I did not take pictures in the process. Now I was hired to make another on. This time I made some photos which I want to show you here. This is more an inspirational post than a tutorial.
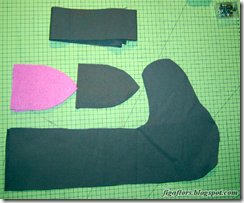
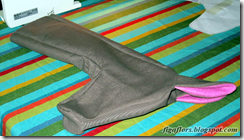
Lets start! For the head we need seven pieces.
- 2 side pieces
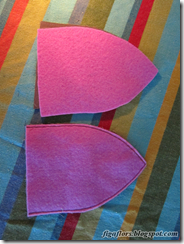
- 2 felt ear pieces
- 2 fabric ear pieces
- 1 fabric strip 10 cm wide and as long as the circumference as the side pieces.
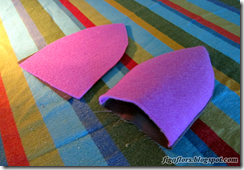
Sew a felt ear pieces to a fabric ear piece.
Turn the ear inside-out.
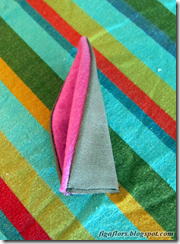
Fold ear in half and sew on the bottom.
Repeat for the other ear.
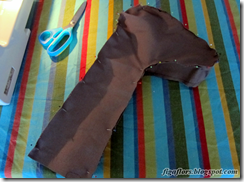
For the head pin the side pieces to the fabric strip. Don’t forget to already put the ears in place.
Turn the head inside out.
For the harness prepare two strips of fabric 7.5cm wide and 140cm long.
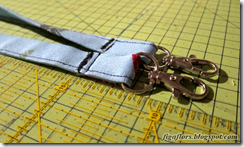
Fold the fabric strips lengthwise 2 times (like in the banjolele strap tutorial) and sew them shut. Cut one 100cm piece and add hooks on the ends.
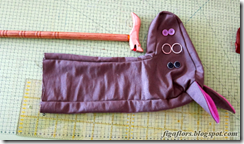
Gather more material. I use 2 buttons for eyes and two buttons for nostrils. Two large keyrings will become part of the harness. A dollar store walking stick becomes the “body” of the horse. Not shown are two bells which are attached to the harness.
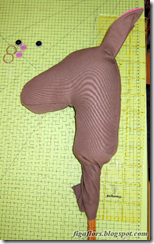
After inserting the handle of the walking stick I filled the head with stuffing.
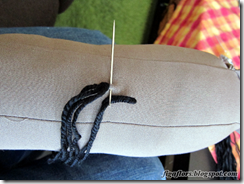
I folded the long neck of the head inwards and used thick embroidery thread to seal the neck by wrapping it tightly around (sorry, no picture here…).
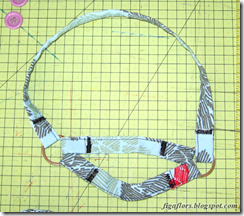
For the harness I cut 3 strips of the strap and attached them to the keyrings. I did this step by step ensuring a tight fit on the horse head.
For the hair I cut wool threads of approx. 40cm length. I folded the threads and pulled the loop through the fabric on the neck. The ends of the thread are then pulled through the loop.
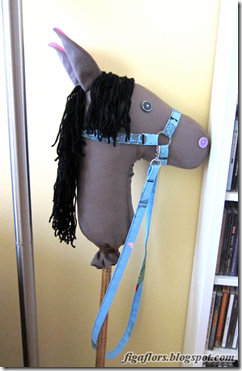
Finally the horse looks like this.You can cut the hair or add additional features.
That’s all!


